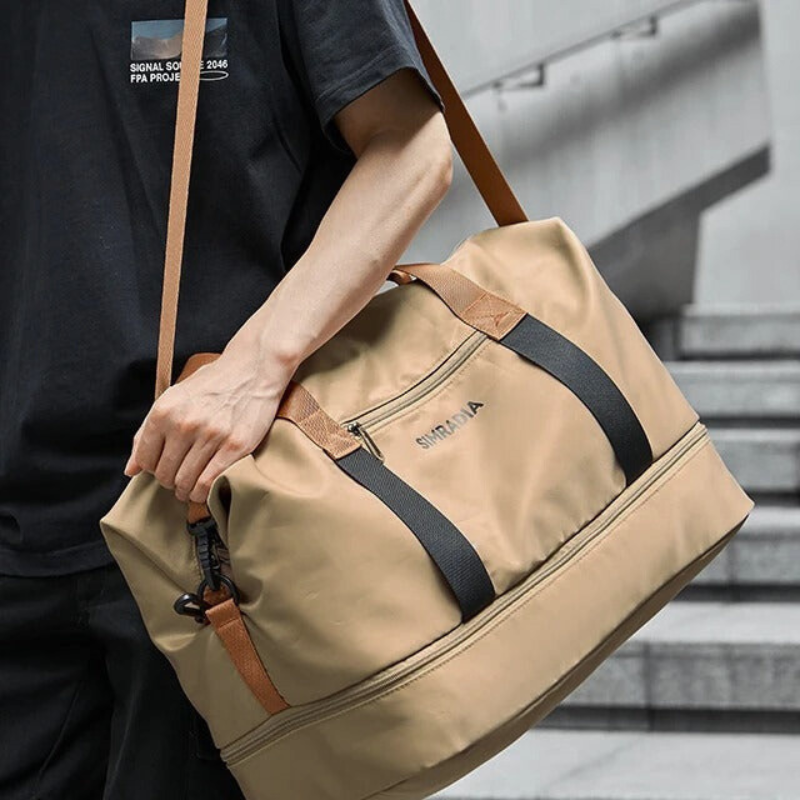



How to Move Through Airports Faster: The Carry Setup That Actually Helps

Moving through an airport faster is rarely about walking faster. It is about reducing the number of times you stop, open a bag, dig for a document, or rebuild a kit that should already be ready.
Most delays between curb and seat are small and repeatable: laptop buried under clothes, liquids in the wrong pocket, boarding pass in a jacket you took off, headphones tangled in the main compartment, a personal item that has to be fully unzipped at every checkpoint. Fix those friction points and the terminal gets quieter even when the line does not.
This guide is for people who fly often enough to care about the system, not the hacks that only work once. It covers what to put where, how to stage security, how to keep the personal item useful after the gate, and how to choose a carry setup that supports the sequence instead of fighting it.
Related reading if you are packing the whole trip light: how to pack carry-on only and how to choose a one-bag travel backpack. For a longer international two-bag structure, see the scheduled companion piece on international travel bags once it publishes.
What "faster" actually means in an airport
Faster does not mean cutting lines unfairly. It means:
- Fewer full unpacks. You open one zone, not the entire bag.
- Fewer decisions under fluorescent light. The kit is already staged.
- A personal item that stays useful after security. Not a dump pile you rebuild at the gate.
- A carry-on that rolls or rides without constant strap adjustment.
If your current setup requires a full unzip to produce a passport, you do not have a speed problem. You have a layout problem.
Step 1: Split the load into two jobs
Treat airport movement as two jobs, not one bag.
Job A, Carry-on (clothes + bulk + secondary tech).
This is the bag that goes in the overhead or at your feet on smaller aircraft. It holds the trip volume: clothing cube, toiletry kit, shoes if needed, jacket when you are not wearing it, secondary cables.
Job B, Personal item (identity + security + in-flight essentials).
This stays with you. It holds passport or ID, phone, wallet, boarding credentials, liquids bag if required, laptop or tablet when you travel with one, headphones, medication, and the few items you will touch between curb and seat.
People slow down when Job A and Job B are mixed. Clothes sit on top of the laptop. Liquids hide under a sweater. The passport lives in the same cavity as dirty socks. Every checkpoint becomes archaeology.
A clean split lets you leave the carry-on closed through most of the terminal while the personal item does the work.
Step 2: Build a security-first personal item
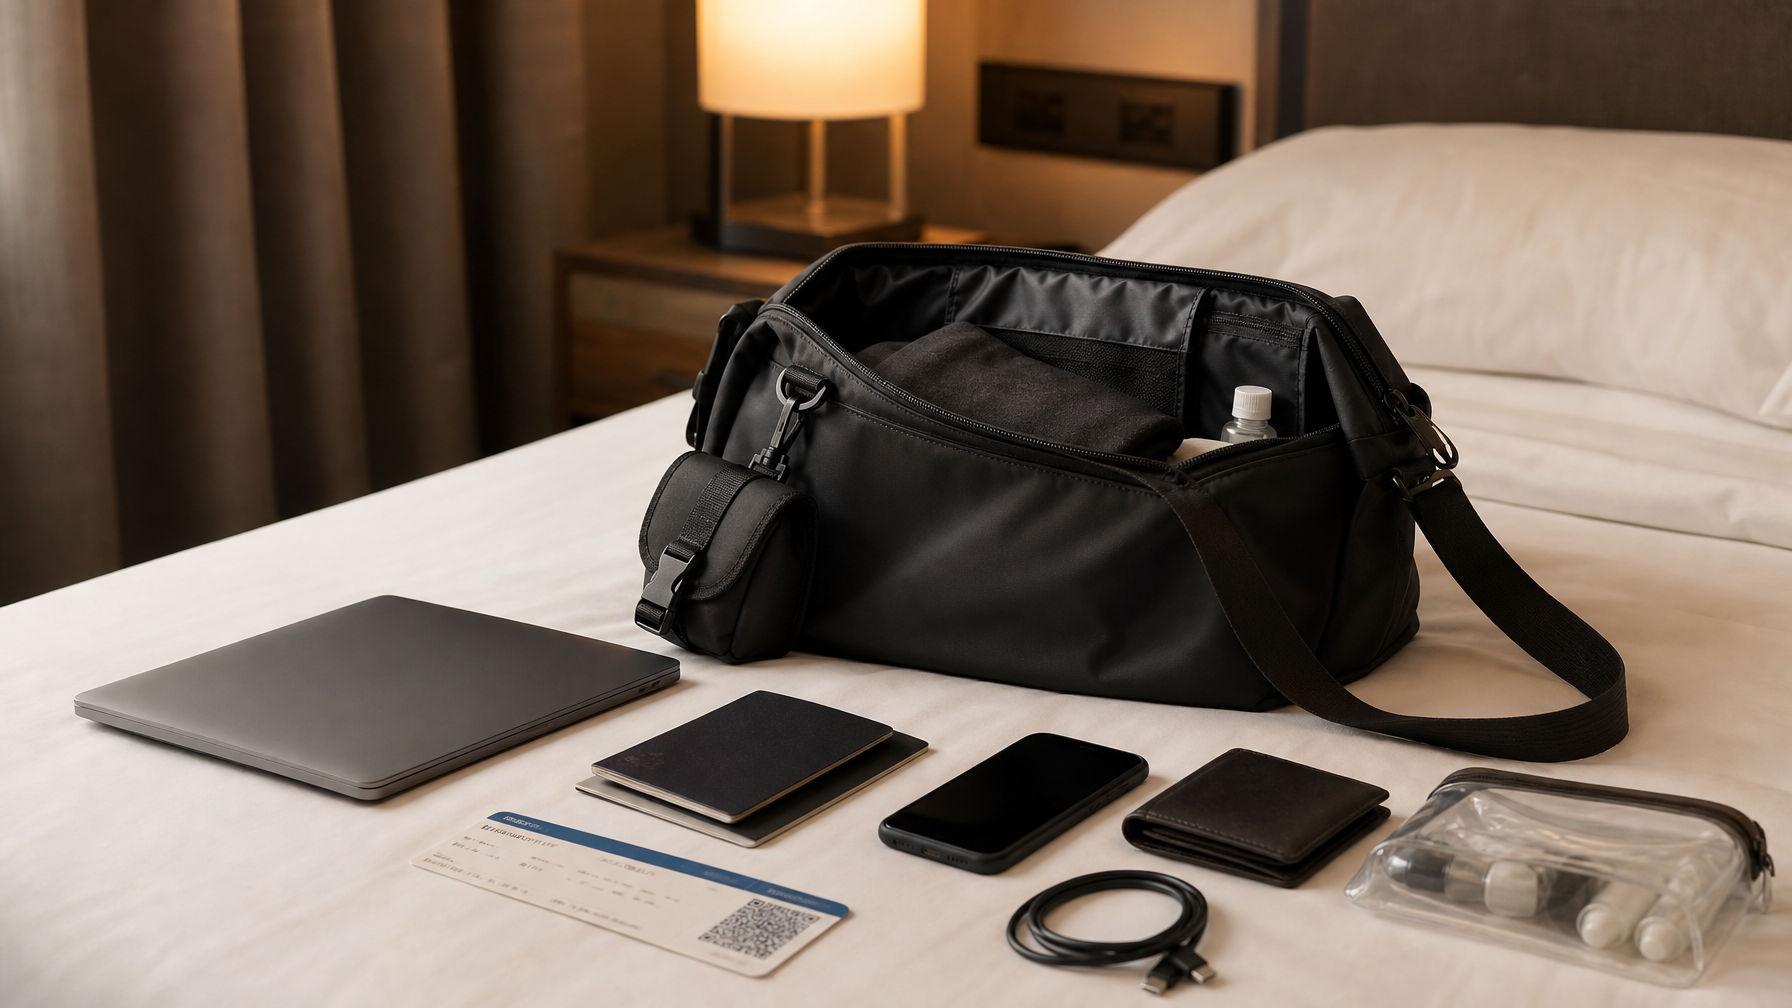
Security is where most "I am a prepared traveler" stories collapse. Design the personal item around the checkpoint, not around the hotel room.
Outer or front-access zone (high frequency)
Keep these where you can reach them without opening the main compartment:
- Phone
- Wallet or slim card holder
- Boarding pass if you still use paper
- Earbuds or compact headphones
- Transit card or ride-hail readiness after landing (optional)
Verified language for a structured messenger personal item such as the Haven Messenger: the front pocket fits your phone, wallet, and card together, and you can access that front pocket while the bag stays at your side. A separate back pocket can hold a phone and wallet together when you want them against the body.
Do not invent one-handed theater. Do not claim every item is "one grab away." Put high-frequency items in one outer zone and stop rearranging them every flight.
Main compartment (checkpoint and cabin)
- Laptop up to the size your bag actually holds (for Haven, the main compartment accommodates a laptop up to 14 inches; there is no dedicated padded laptop sleeve)
- Tablet if you carry one instead of or in addition to a laptop
- Passport pouch or document sleeve
- Clear liquids bag if your route requires it
- Compact power bank and one short cable path
- Medication and anything you cannot check
- Thin layer only if you will actually wear it in the cabin
What does not belong in the personal item
- Full toiletry kits
- Extra shoes
- "Just in case" clothing
- Multiple large chargers and brick adapters you will not use until the hotel
- Souvenir capacity you have not earned yet
If the personal item is heavy before you buy coffee, the split failed.
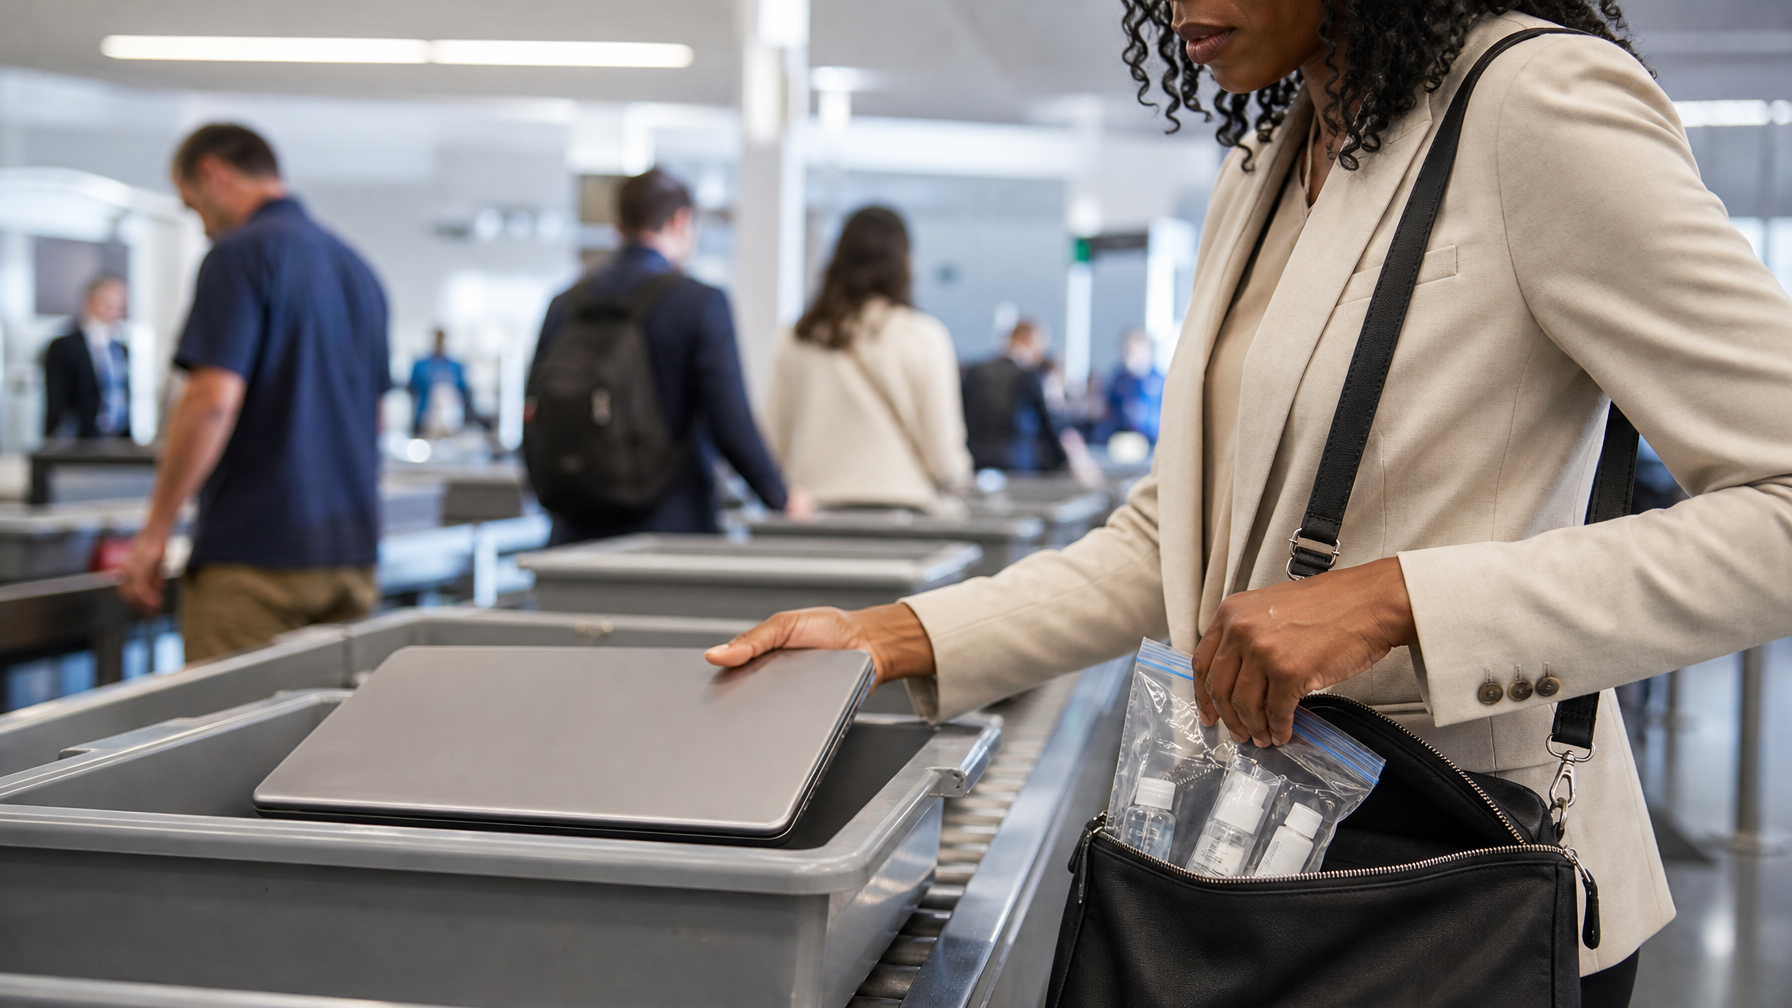
Step 3: Stage liquids, laptop, and documents before you join the line
Do this while you still have floor space, not when the tray is already on the belt.
- Liquids bag to the top of the personal item or an exterior-access pocket so it lifts out in one motion.
- Laptop orientation decided before you queue. Know which side unzips and whether it leaves the bag or stays in, based on the checkpoint rules in front of you.
- ID and boarding credentials in the same hand sequence every time. Same pocket, same order.
- Jacket and belt decisions early. Clothing fumbles feel small and cost minutes.
You are not trying to look like a security expert. You are trying to avoid becoming the person who blocks the belt while searching for a 100 ml bottle under a hoodie.
Step 4: Keep the carry-on boring on purpose
The carry-on should be dull: cubes, toiletry kit, shoes, spare layer. Boring is fast.
Useful habits:
- One clothing cube for the week's core kit, not five half-filled pouches
- Toiletries in a single kit that opens flat
- Cables you only need at the hotel in a small pouch deep in the carry-on, not in the personal item
- A clamshell or wide top opening so you are not digging vertically in a hotel room at midnight either
If you want a dedicated travel backpack structure for multi-day trips, the Transit Pack is built as a larger travel backpack with room to organize trip volume. Use it for Job A when the trip needs real clothing capacity. Pair it with a lighter personal item for Job B rather than forcing one bag to be both wardrobe and checkpoint kit.
For shorter hops where a full travel pack is more than you need, a simpler laptop backpack such as the Apex Backpack or Venture Backpack can hold Job A while a crossbody handles Job B. Choose by trip length and how much clothing you actually pack, not by which bag looks most "travel" in a photo.
Step 5: Choose a personal item that matches how you walk the terminal
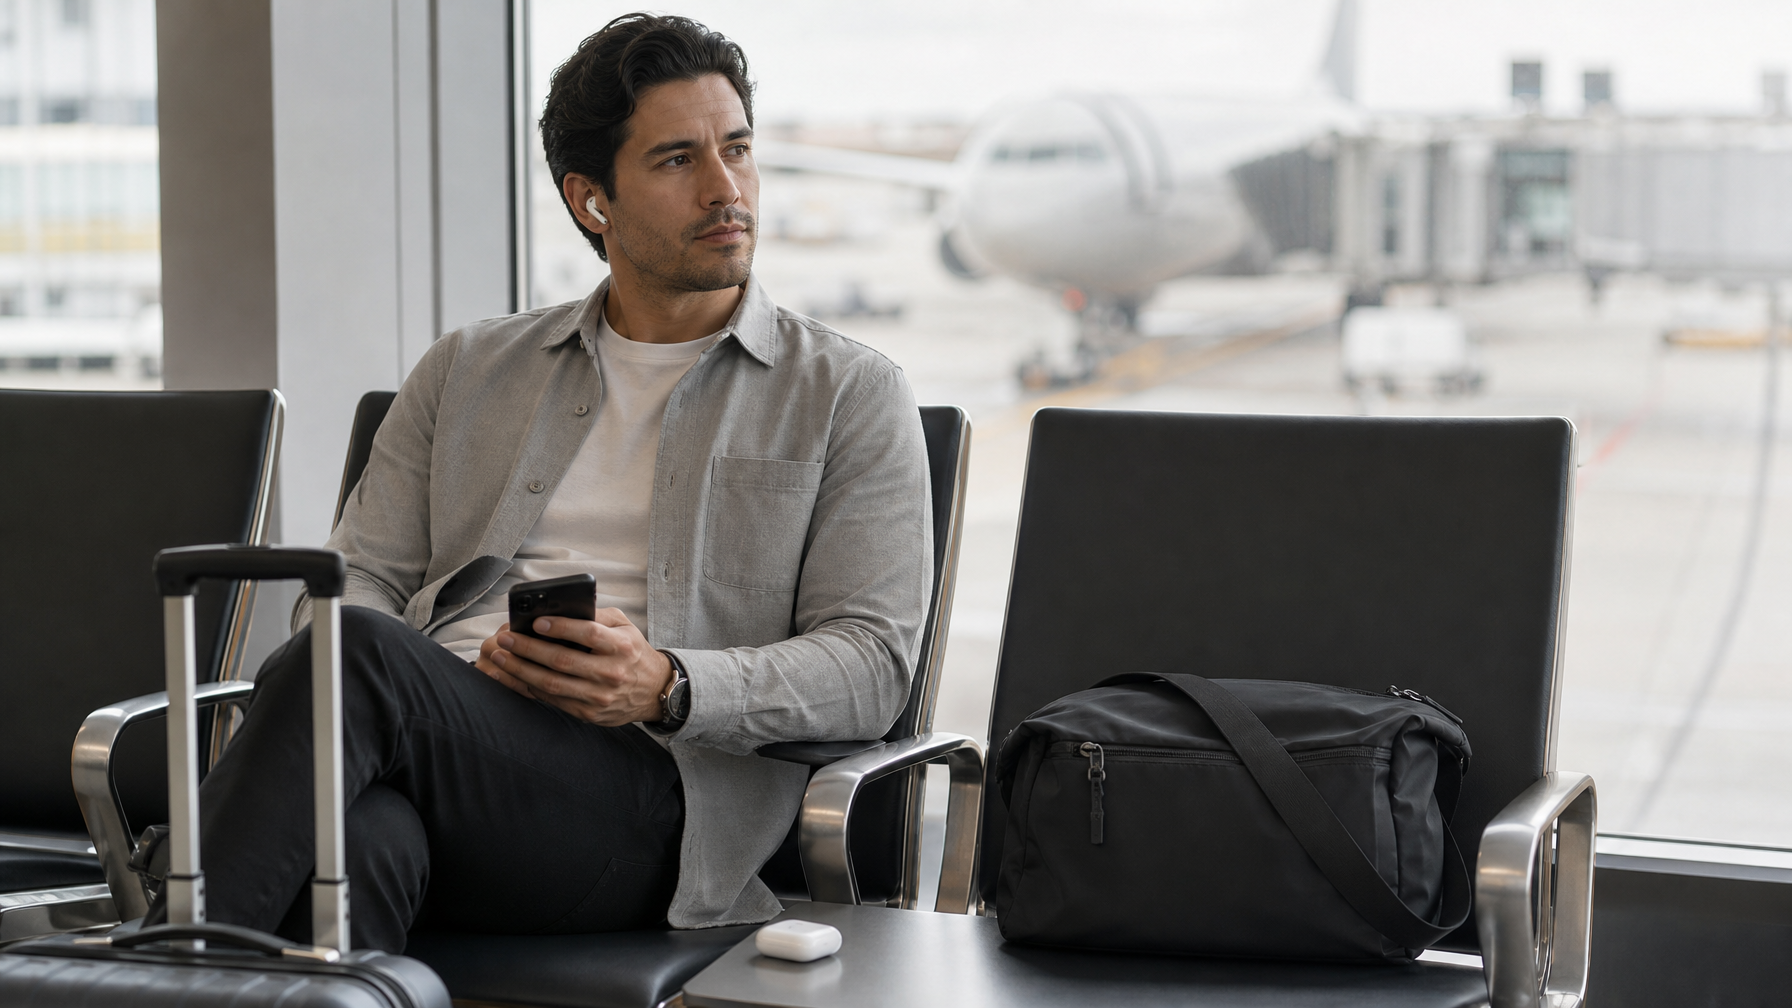
After security, the personal item should still make sense on the moving walkway, at the gate outlet, and on the jet bridge.
Haven Messenger ($89), default personal item for laptop days
When the flight includes a laptop up to 14 inches and you want a crossbody that stays on your body while you roll or carry a larger bag, Haven fits the personal-item job: main compartment for the computer, interior organization for a reduced power kit, front pocket for phone, wallet, and card together, back pocket against the body when you want it, and a small detachable pouch for one small essential such as AirPods.
It is not a carry-on replacement for a week of clothes. It is the bag you keep when the overhead bin is the wrong place for your passport.
Metro Laptop Brief, when you want a brief silhouette
If your travel days look more like client work than weekend packing, Metro can serve as a structured personal item for laptop-forward trips. Keep the same security staging rules: outer access for credentials, main compartment for the computer, liquids staged to lift out cleanly.
Transit Crossbody or Commuter Sling, when the laptop stays in the carry-on
Some travelers keep the laptop in the larger bag and want a lighter personal item for phone, wallet, passport, and headphones only. A compact crossbody or sling can be enough if you are honest about laptop placement before you reach security. Do not discover at the belt that the computer is under a cube of shirts.
Step 6: Run a simple terminal sequence
Use the same order every trip so you stop improvising under time pressure.
- Curb to check-in or bag drop with documents already in the personal-item outer zone.
- Security staging two minutes before you join the longest part of the line.
- Reassemble once after the belt: laptop away, liquids away, shoes on, credentials back to the same pocket.
- Gate arrival with water and food decisions finished before boarding groups are called when possible.
- Board with the personal item packed for the seat, not half open from the lounge.
The goal is one rebuild after security, not three.
Step 7: Protect speed after you land
Arrival is where tired systems fail.
- Keep the phone and ride credentials in the same outer zone you used for departure.
- Do not empty the personal item into coat pockets on the jet bridge.
- If you changed time zones, medication and adapters stay in the same interior pocket so hotel check-in is not a rummage.
- Put dirty clothes into one cube in the carry-on before you start collecting new bulk.
Speed on the way out is the same skill as speed on the way home: permanent homes for a short list of items.
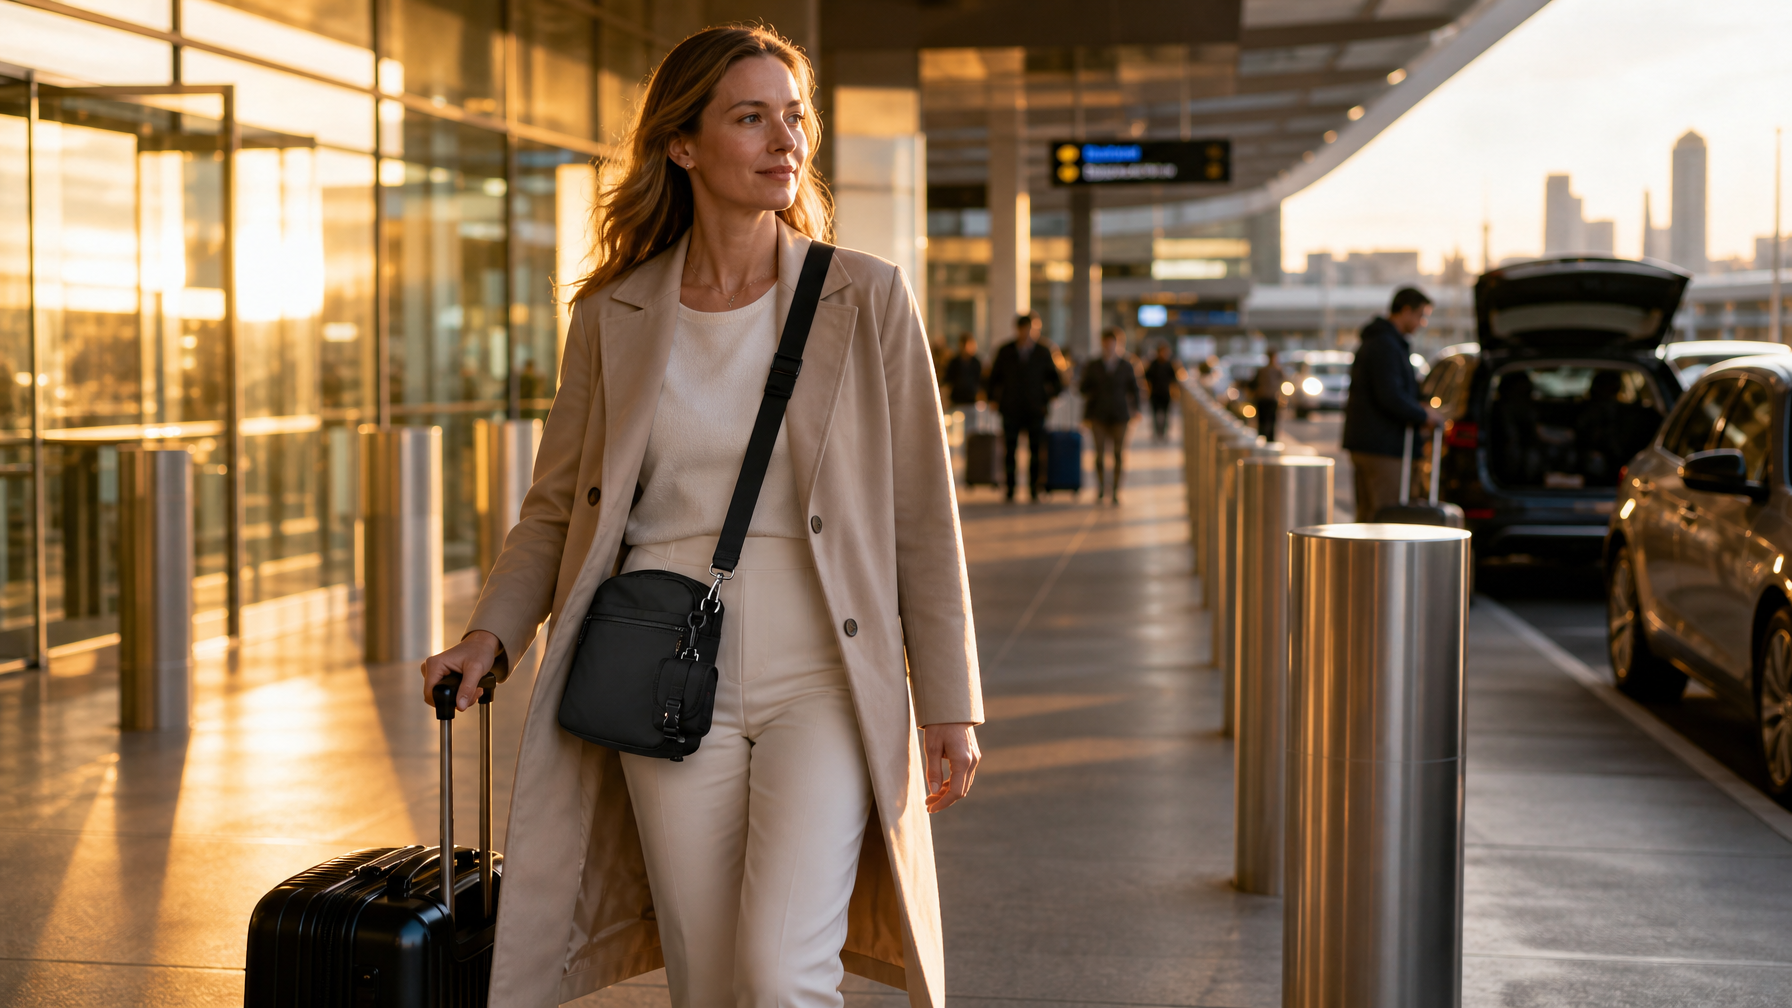
A simple two-bag recipe that works for most trips
Carry-on: Transit Pack (or a smaller travel backpack if the trip is short) packed with clothing cubes and toiletries.
Personal item: Haven Messenger for laptop-plus-documents days, or a lighter sling if the laptop lives in the carry-on.
That pairing is not fashion. It is job separation. The large bag holds the trip. The small bag holds the airport.
If you are still deciding whether one bag is enough for the whole wardrobe, start with the carry-on-only system article linked above. Airport speed and packing volume are related, but they are not the same skill.
Common mistakes that quietly add ten minutes
Mixing laundry and documents. Passport under socks is a classic own-goal.
Too many pouches. Five organizers can be slower than two clear zones.
Wearing the heavy bag as the personal item. If it has your week of clothes, it is not a personal item.
New layout every trip. The fastest travelers are boringly consistent.
Feature chasing. A bag that looks technical but forces full opens at security is slower than a simple bag with honest zones.
FAQ
Do I need a special "TSA bag" to move faster?
No. You need a layout that matches the checkpoint: liquids easy to remove, laptop path clear, credentials in one outer zone. Branding on the marketing page does not clear the line.
Should the laptop live in the personal item or the carry-on?
If you will remove it at security and use it in the cabin, the personal item is usually cleaner. If you rarely open it in flight and want a lighter shoulder load, the carry-on can hold it, but only if you can reach it without unpacking clothes.
Is a personal item worth it if I already have a carry-on backpack?
Yes, for most people who fly with documents, a phone, and anything they refuse to put in the overhead. The personal item is the control surface of the airport. The carry-on is storage.
What is the smallest change that helps immediately?
Pick one outer pocket for phone, wallet, and ID. Never put those three anywhere else. That single rule removes a surprising amount of terminal stress.
The point
Airports reward travelers who make fewer moves. A carry setup that separates trip volume from checkpoint essentials will do more for your time than a new walking pace or a viral packing cube arrangement.
Build the personal item around security and the seat. Keep the carry-on boring. Use the same sequence every flight. The terminal will still be the terminal, but you will stop fighting your own bag while you move through it.
When you want the personal-item side of that system in a structured crossbody, start with the Haven Messenger. When the trip needs real clothing capacity overhead, pair it with a dedicated travel backpack such as the Transit Pack and keep the jobs separate on purpose.